
This is a guest post written by Emma Jane Falconer, which originally appeared on her blog 'Emma Makes Stuff'. Emma is a zinester, illustrator, photographer, and film-maker. You can find out more about her work at www.emmajanefalconer.com.
This is how I personally make my zines, mixed in with a few tips for beginners. There's no right or wrong way (aside from doing things like accidentally making it unreadable once photocopied or forgetting about your margins and cutting off half the text). If you want a more in-depth guide to all things zine-related, I can recommend Stolen Sharpie Revolution. You can see all the back issues of my zines on my website.
What I put in them:
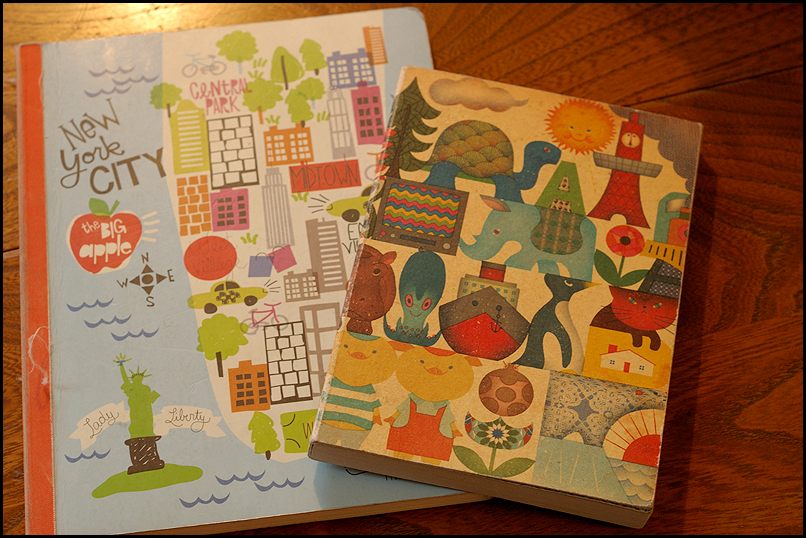
I have these two notebooks. The small one is for jotting down ideas. When I think of things, it's usually not when I have the time to actually make them. If I don't write them down, I tend to forget.

The ideas notebook has pages set aside for various categories of things.

I usually write out the contents longhand first. I revise and edit them when I type them up on the computer. If I write them straight on the computer I'm more likely to get distracted. The important thing is to write about the things that personally interest you, not what you feel you "should" write about. Fads in zines come and go like anything else, and sometimes it seems like everyone is writing about a certain topic, and then next year it's something different.
Making the pages:
I make the pages on separate sheets and then glue them onto one master sheet.
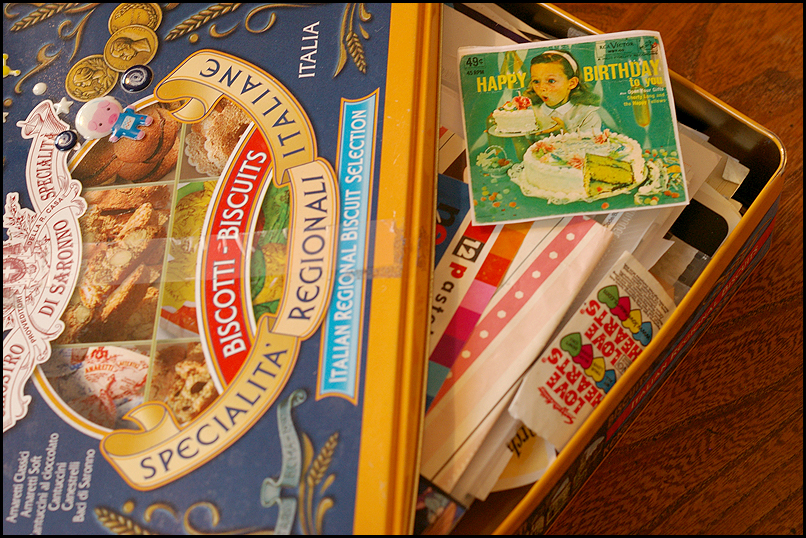
I keep all sorts of interesting scraps in this old biscuit tin for zine and collage use. Things like magazine pictures, food packaging and travel tickets.
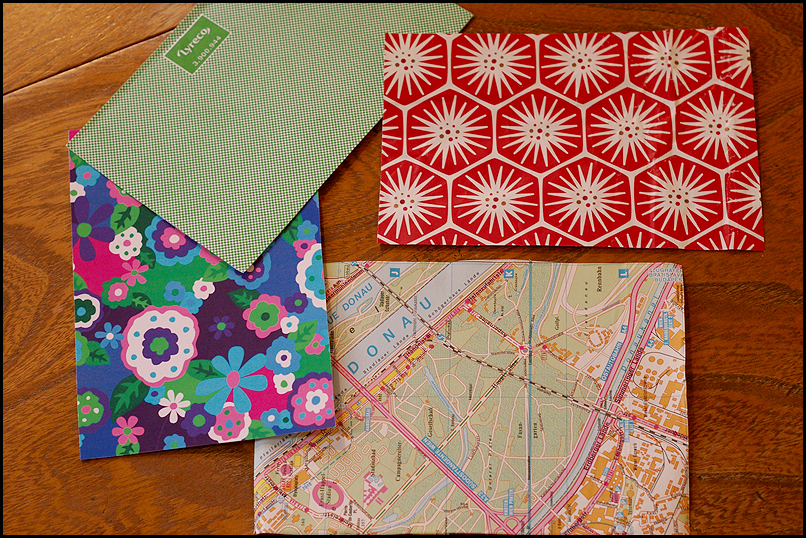
For the backgrounds I cut pieces of paper about 1cm smaller in each direction than the finished page. That way the margins are built in, and I can't go over them. Things like old wrapping paper, tourist maps, the inside of business envelopes and magazine pages are good sources. You want high contrast patterns, things with delicate colours don't photocopy well. I try to have facing pages have the same background design if they're part of the same article.
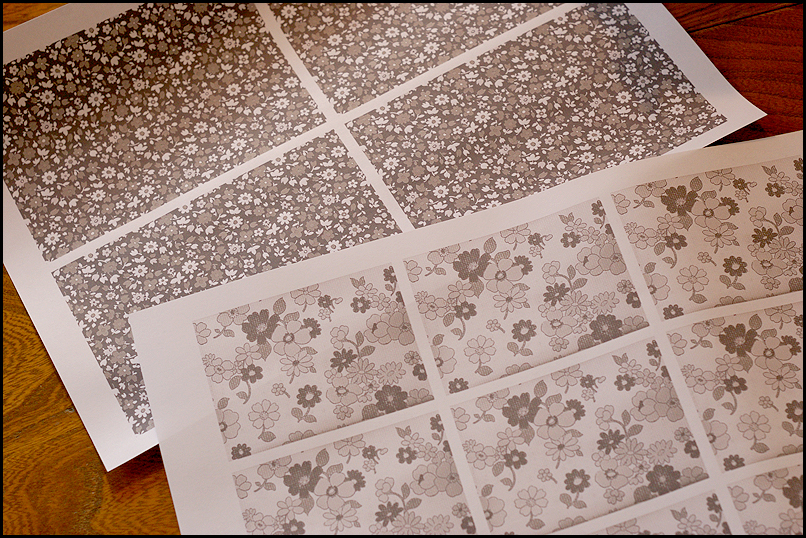
I also print off some patterns on the computer. You can get books of copyright free patterns that you are allowed to use for small-scale projects like zines.

I keep all kinds of interesting pictures in the tin too. The blue thing is a Bulgarian metro ticket. If I want to use my own photos, I up the contrast before printing them on the computer. Again think about how well the pictures will copy.
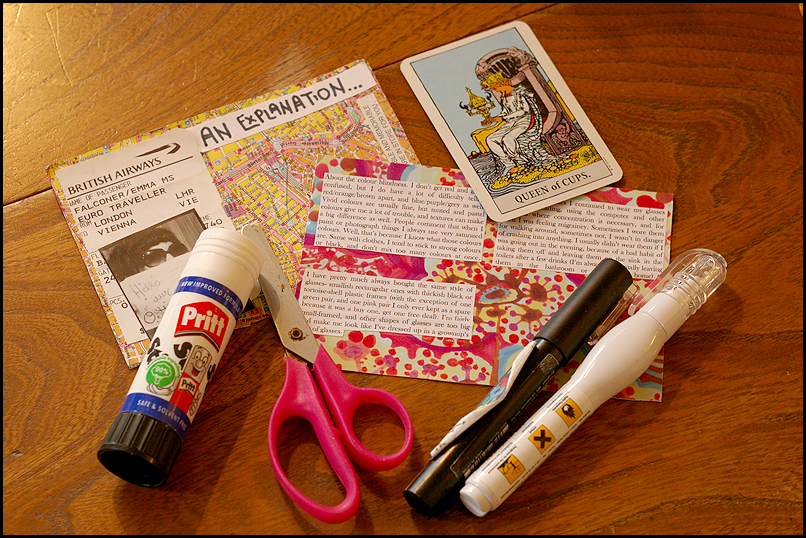
The tools of the trade: glue, scissors, markers (I use Posca ones), correction pen. I recommend sticking to the well-known brands of glue. I've had bad experiences with cheap glue sticks not sticking very well. I wouldn't use fancy or best scissors, because you *will* end up with glue marks on them. I keep a scrap piece of paper to one side to glue on.
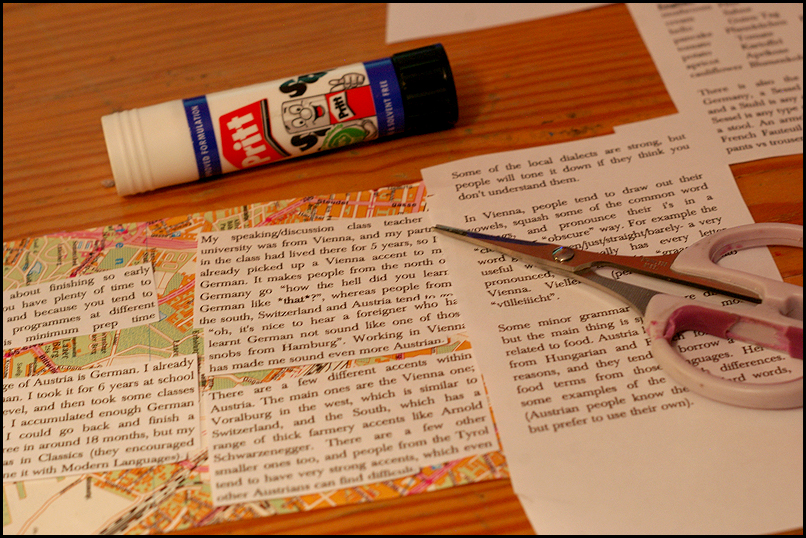
I print out my text set into columns. For one column per landscape page I make it 8cm across, for two 5.5 cm. I stick to 9/10 pt Baskerville for the text, and pick one decorative font per issue to use for titles. Too many different jarring fonts hurt your readers' eyes. The fine-tipped scissors come in very useful for this stage. They were £2 in Wilko. In the UK Wilkinson's is a great source for zine stuff. They sell cheap card-making supplies, which are the same things that are useful for zines (I swear by their paper folding tools).
I do pages when I feel like it, and set them aside until I have 24 that I feel will make an issue together. Sometimes they sit in the box for quite a while until they find a home. When I've got enough, I arrange them in order, and then write the pages numbers on the corners. Numbering your pages is very important, it makes assembling much easier once you've photocopied.

I label my master sheet with the numbers (some tips here) and glue the page sheets on, then I'm ready to photocopy.
No comments:
Post a Comment